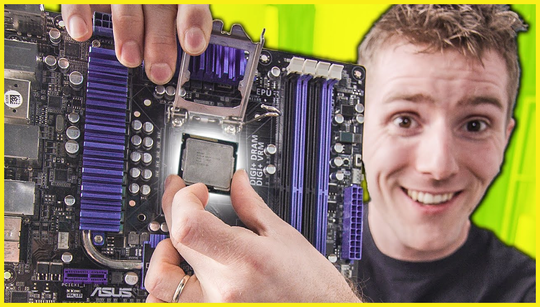
How to Install a CPU
Installing a CPU is a crucial step when building a PC or upgrading your rig. Mishandling the CPU or socket can result in bent pins, which can be difficult to fix. While a new CPU can boost your system's capabilities, it's important to handle it with care.
Whether you're building a PC from scratch or upgrading your current system, follow these key steps for a successful CPU installation. We'll also cover how to properly remove a CPU if you ever need to replace it.
Start by prepping your motherboard, either inside or outside the case, depending on your build.
To open the socket, push down on the metal lever and move it away from the socket. Lift the silver metal CPU retention plate away from the socket.
Some sockets have a small triangle or arrow in one of the corners. Check your CPU for a matching arrow.
Make sure that your CPU's arrow aligns with the socket's triangle or arrow.
Gently place the CPU in the center of the socket, aligning the bottom edge with the socket. Ensure that the CPU is fully seated inside the socket's plastic frame.
Double-check that the CPU is properly seated and centered in the socket.
Lower the metal retention bracket onto the CPU.
Slowly lower the metal lever or retention bar, ensuring that it is under the raised section. Press the bar firmly until it's parallel to the motherboard and slips under the metal piece.
Congratulations! Your CPU is now properly installed in its socket.
Now you can move on to installing your motherboard and other components on your new PC. Check out our guides on how to install a graphics card and how to install RAM to get your rig running smoothly.


