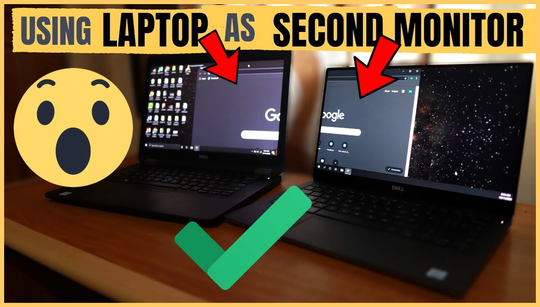
Reclaim your spare laptop as a second display
Using a laptop as a second display is a great way to get more screen real estate without spending money on a third monitor. Multi-display Windows setups are quite popular these days, and you don’t always need to buy a new monitor.
Miracast support is baked into Windows 10 and 11, allowing you to project your desktop over the Internet. You can use it as a secondary screen or to share your desktop with other people in the room. It’s a neat trick, and you can even use it to play PC games with friends over the internet.
If you have a spare laptop lying around, you can repurpose it and use it as a second display for your main computer. It’s a cheaper way to build a multi-display setup if you don’t want to buy an additional monitor. We’ll discuss what you need, how to configure your laptop to act as a monitor, and some settings to make the experience as smooth as possible.
What you need
Here’s what you’ll need to project your Windows desktop to a spare laptop:
Prepare your laptop to act as a monitor
Configuring your laptop to act as a monitor is easy. Open Projection settings by clicking the icon in your system tray.
Here’s what you need to change:
That’s it, you should now be able to extend your main display to the laptop. The process is simple, but there are a few settings you can check to make sure it’s running smoothly.
Configure your projection settings
Windows has some settings you can change to improve the experience. Open Projection settings using the above instructions and make the following changes:
The wireless screen will now use the Miracast standard to transmit the screen data. This is the same technology that is used with Google Chromecast.


