Armored Core 6's Ocean Crossing mission: The Perfect Route
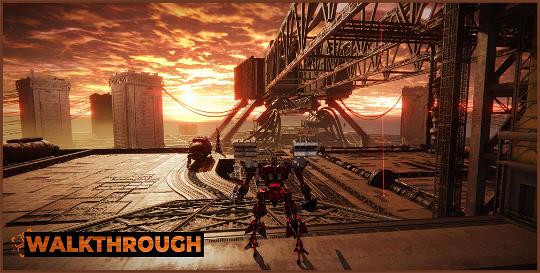
Are you lost in the Ocean Crossing mission? The final mission of AC6’s second chapter is relatively short, but is filled with deadly lasers falling from the sky. Figuring out the best way to navigate the route without being sliced in two is a puzzle in itself, but there’s also the matter of locating all the hidden items along the way. Our guide helps you to quickly clear the stage while picking up everything you can along the way.
The Ocean Crossing mission is filled with lasers and other dangers. These death lasers deal massive damage if your AC comes into contact with them, so you want to avoid them at all costs. Your best bet is to boost away from them, but you need to be quick, and it’s far better to avoid them altogether.
Optimal Ocean Crossing stage route
There is a route in the stage that allows you to progress from the beginning to the end without encountering any lasers. To reach it, you need to drop into a sizable hole in the ground. This drops you into an underground section, with engines and gears. The good news is that this section is separate from the rest of the stage, and the lasers can’t hit your AC down here.
This underground area consists of two connected rooms. The exit is in the second room, which you can see from the first room. You do have to do some minor platforming to get there, but it’s nothing too difficult. You will encounter drones in this area, which generate explosives and charge at you. You should destroy these drones before they reach you.
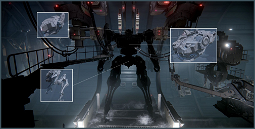
After finding the exit, stick to the left wall, staying under the roof, and avoid the bridge. Instead, work your way around and drop down to a bridge with a broken mech to obtain the “Image Data: STV Sketch (2)” data.
Returning to the gear room exit, take a right and fight more drones. You’ll come to a tunnel, which has additional drones. At the end of this tunnel, you’ll find a platform with a downed AC containing the “Head Comms Record: Doser Chatter” data.
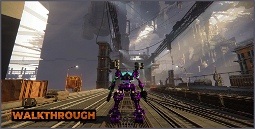
Following the bridge from the gear room exit, you want to travel under the bridge using the struts as platforms to avoid the lasers. Clearing out the drones in this area is crucial, as you don’t want to fall from the bridge’s unprotected stretch.
If you have an energy-efficient AC you can use Assault Boost to help you traverse the bridge efficiently. Once at the end of the bridge, you need to climb up and defeat the MTs in the final area.
You’re not yet free from lasers, so you want to take shelter under the canopy in the area. Finally, reach the Mission Marker to officially escape the lasers and face off against the Sea Spider boss.
