Armored Core 6 HA-T-102 Juggernaut boss: Defeating the Fast and Deadly
Armored Core 6’s HA-T-102 Juggernaut boss is fast, deadly, and difficult to damage. Thankfully, there’s a specific strategy you can use to defeat it and earn some valuable Rewards Credits. If you try to go toe-to-toe with it using standard parts, you’re likely to spend a lot of time on the ground getting shredded by its main cannon or missiles.
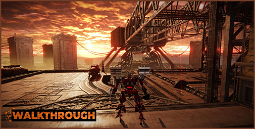
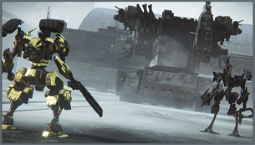
Late in the campaign, you’ll head to a new area called the Turquoise Mountain Range. Here, you’ll encounter the HA-T-102 Juggernaut boss, which Rusty describes as a “high-speed anti-personnel combat vehicle.” It’s extremely agile and is capable of dealing out heavy damage from a distance. Thankfully, this means it leaves itself open to attacks from the skies.
Armored Core 6 HA-T-102 Juggernaut boss tips
Your goal in this battle is to take the Juggernaut’s battery on its back out. However, it has a large amount of health, so you need to use a specific loadout and attack plan. You also need to adapt your combat style and learn to avoid unnecessary risks.
The Juggernaut is extremely fast, but it doesn’t have any homing properties to its attacks. This means you can dodge or strafe around its Cannon Shot and Missile Launcher attacks without having to worry about missing a jump. You can also dodge or jump to avoid its Ram attack, but you need to get into the air quickly to do this.
The Juggernaut lays land mines during the battle, so if you’re not attacking it, you’re likely dodging. This means you’re not spending as much time in the air, so you’re more likely to get hit by one of its attacks. As such, it’s best to attack the Juggernaut as often as possible to avoid the mines.
Attacking the battery on the Juggernaut’s back is the only way to harm it. It’s protected by a shield that has significant health, so you need to whittle it down first. To do this, you’re going to make the Juggernaut attack itself.
The first half of the battle is relatively simple. The Juggernaut focuses on Rusty, which means you can get easy shots at its back. As such, your loadout should focus on keeping yourself in the air without worrying about speed or weight.
In the second half of the battle, Rusty leaves, and the Juggernaut becomes faster and starts spreading mines. However, the overall strategy doesn’t change. Taking to the sky is the key to success.
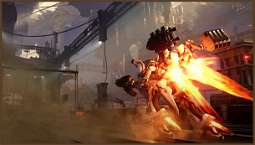
You’re going to want to use the Reverse-Joint legs in this battle. Spending too much time on the ground will result in heavy damage. With the Reverse-Joint legs equipped, you can stay airborne and rain down electricity with the Plasma Rifle. You can also use the Plasma Blade to stagger the Juggernaut and deal significant damage.
However, the mines cause a problem. If you’re attacking the Juggernaut, you’re probably going to be near the mines, so you need to avoid them. If you land in an area covered in mines, you’re likely to die, so heal on the ledge if you need to.
Likewise, if you’re being chased by the Juggernaut, you’re probably going to fly over mines, so be careful. You don’t want to be hit by the mines at the same time as the Juggernaut’s missiles.
Armored Core 6 Juggernaut boss fight
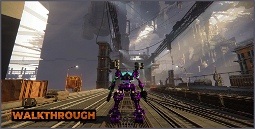
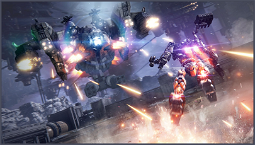
In the first part of the battle, the Juggernaut focuses on Rusty, which leaves you with an opportunity to attack its back.


