Add a brim to your 3D prints
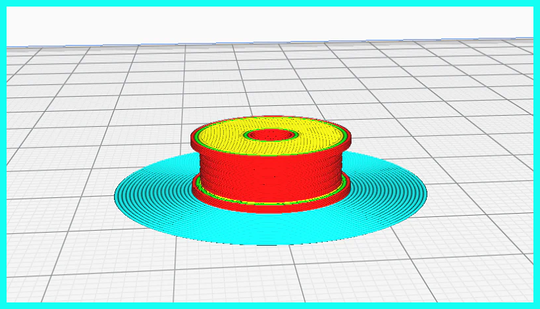
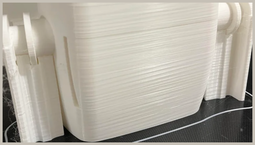
Wondering what a 3D printer Brim is and why you should use one? If your prints aren’t sticking to your bed or are Warping or detaching during the printing process, you may need to add a brim. A brim is an additional material that you can add to your print to improve adhesion between the object and your printer bed.
The benefits of a brim include preventing detachment and warping, but it’s not meant to be a permanent part of your final print. You can use a brim when printing with materials prone to warping like ABS and improve overhangs and small base areas that struggle to adhere. Here are five reasons to use a brim with your 3D printer, along with some tips to help you get the best results.
What is a 3D printer brim?
A brim is a thin ridge or lip that can be added to your print to improve adhesion. This additional material can be included in your initial print or added to an existing print as a brim fix.
When setting up your 3D printer, it’s important to properly level your 3D printer bed to avoid adhesion issues. However, if you’re having trouble with prints detaching or warping after leveling your bed, you may want to add a brim to your prints.
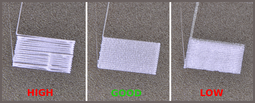
There are various 3D printer slicer settings that you can use to add a brim to your prints, including adjusting the brim width and line count. You may also need to make adjustments depending on the material you’re using, so it’s a good idea to check your slicer settings for your particular printer.
Here are some examples of 3D printer slicer settings for adding a brim:
You can solve most brim issues by making adjustments to your settings and leveling your bed, but you may need to remove the brim before the print is complete. To make this process easier, you can choose smart brim settings, which will automatically remove the brim after your print is done.
Here are the steps to add a brim to your 3D printer:
Now that you know how to add a brim to your prints, you can use it to solve adhesion issues with your printer. When it comes to 3D Printing, there are a lot of settings to consider, so be sure to check out our guide to calibrating your 3D printer bed for more advice on leveling your printer.
If you’re struggling to get your prints to stick, there are other common 3D printing problems that you can solve, including PLA not sticking to the bed and over-extrusion.
